Creating a Project
Projects are created through the Projects section in the left navigation menu. A VCS provider and at least one engine must be configured before a project can be created.
Step 1: Name the project
Enter a name for the project.


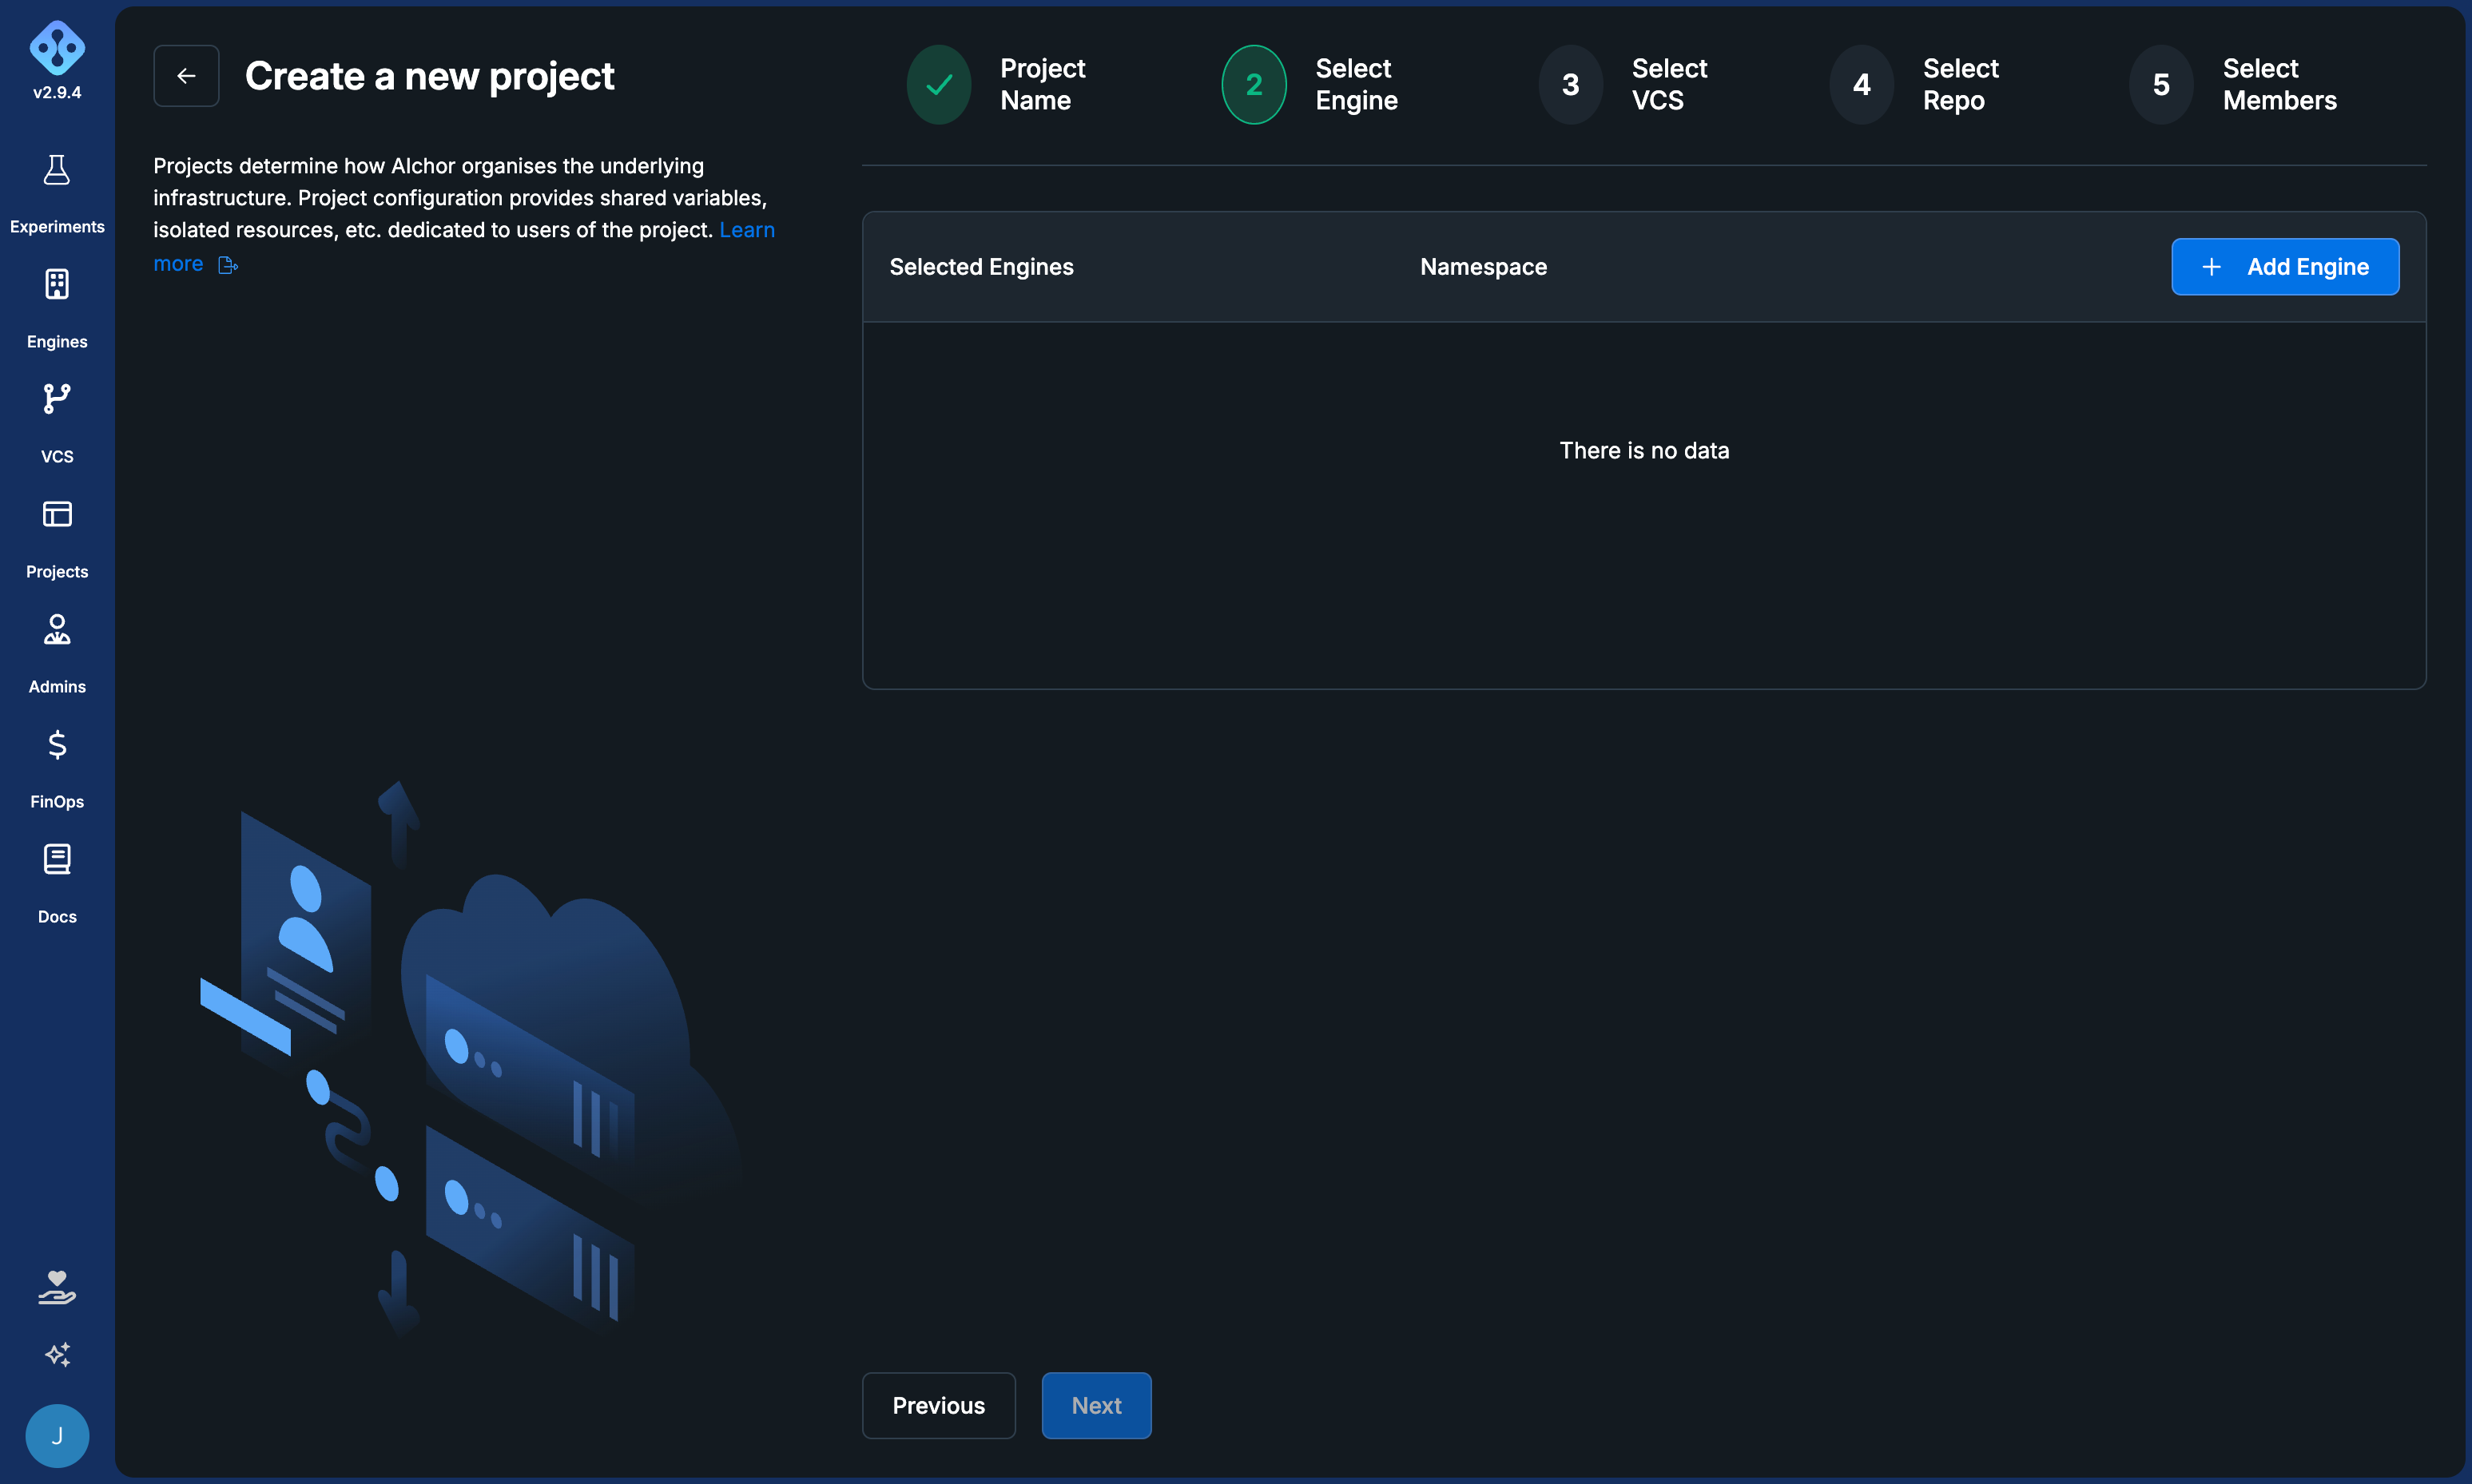
Step 2: Select a target engine
Start by linking an engine to the project by selecting an engine from the list of available engines. Optionally set the engine as default.
By setting an engine as default, experiments will be automatically provisioned in it, unless another one is specified in the manifest.

Step 3: Select a VCS provider
Choose the VCS provider that hosts the repository to link. After selecting the provider and clicking Next, a list of accessible repositories is displayed.


Step 4: Select a repository
Choose the repository from the list. The filter field can be used to narrow down results. Click Next to continue.


Step 5: Select members
AIchor fetches the list of users assigned to the selected repository from the VCS provider. Each user is displayed with their avatar and full name.
To add a member, enter the email address to associate with the VCS user and select the permission level to assign (i.e., user or project-admin). Click Create once all members have been selected.


After project creation
Once a project is created, each member receives an email confirming that they have been added to the project.
Users who are not yet members of the organisation will receive an invitation to join the organisation and create an account. The invitation link expires after 48 hours. Resending or revoking an invitation is possible.
The username for each member is their email address.
The project will take a few minutes to get ready.