Import custom engine
Importing custom Kubernetes dataplanes into AIchor requires providing information about the target cluster.
Some information is provided instantly but others imply a minimal configuration that allows the administrator to generate the needed information to be passed to AIchor.
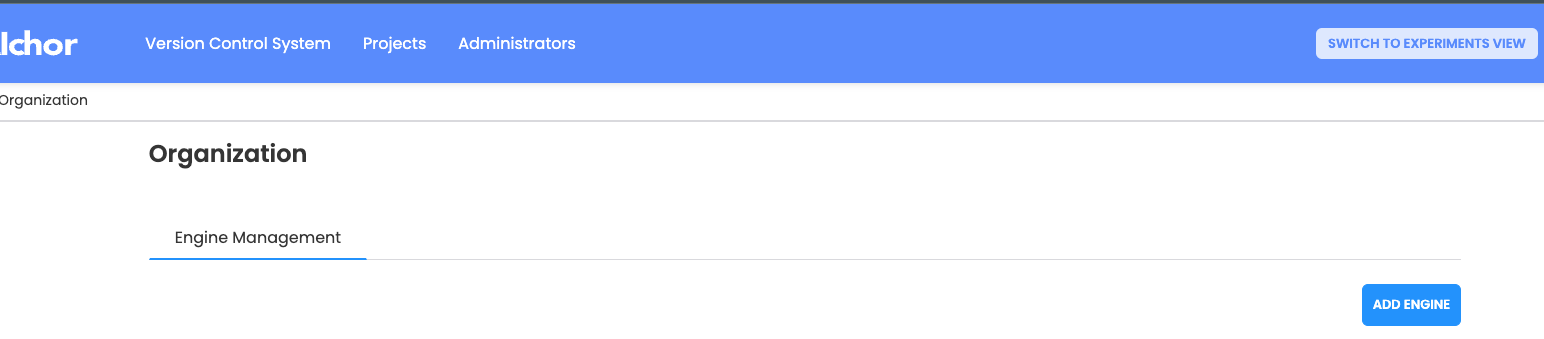
To import a custom engine, navigate to "Organization" under connected user avatar and click on "ADD ENGINE" and follow these steps:
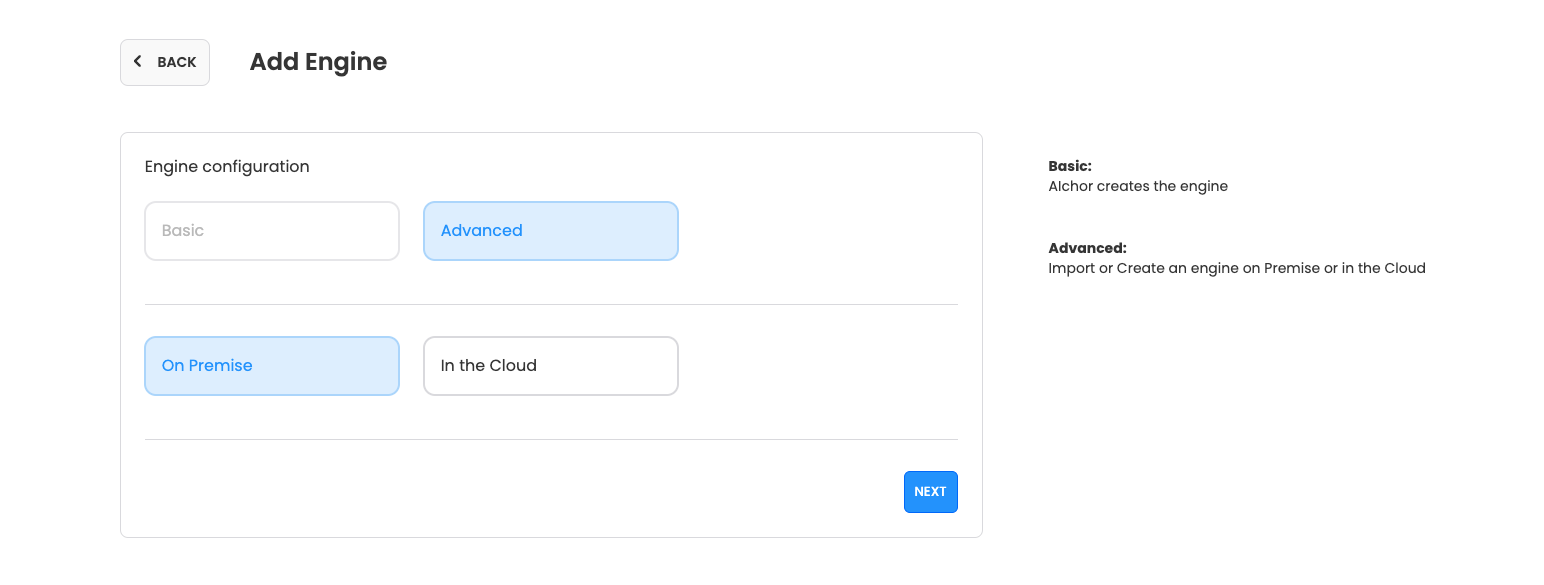
Then select "Advanced" and "On Premise" and click "NEXT":
Below is the list of fields on Admin UI
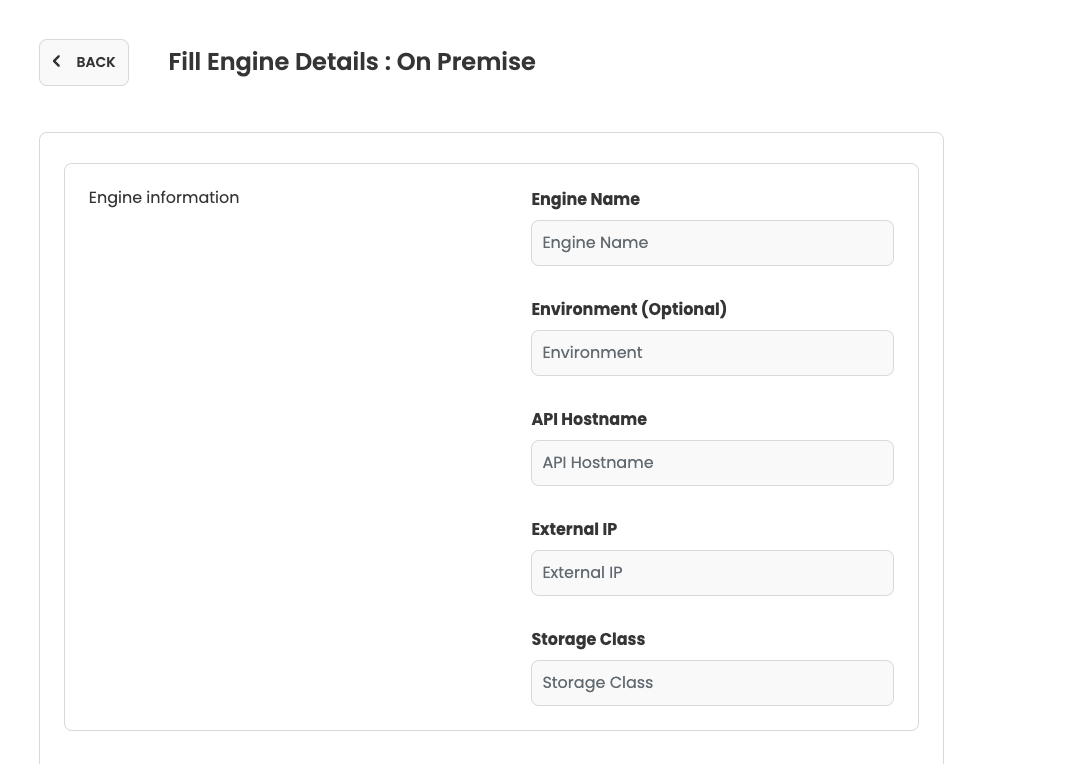
Cluster name:
Run the command
kubectl config current-context
Provider name:
Select Custom
Environment:
This is an optional value that might be
Production, Staging, Development
API Hostname:
Run the command
kubectl cluster-info
External IP address:
This information should be provided by the networking team.
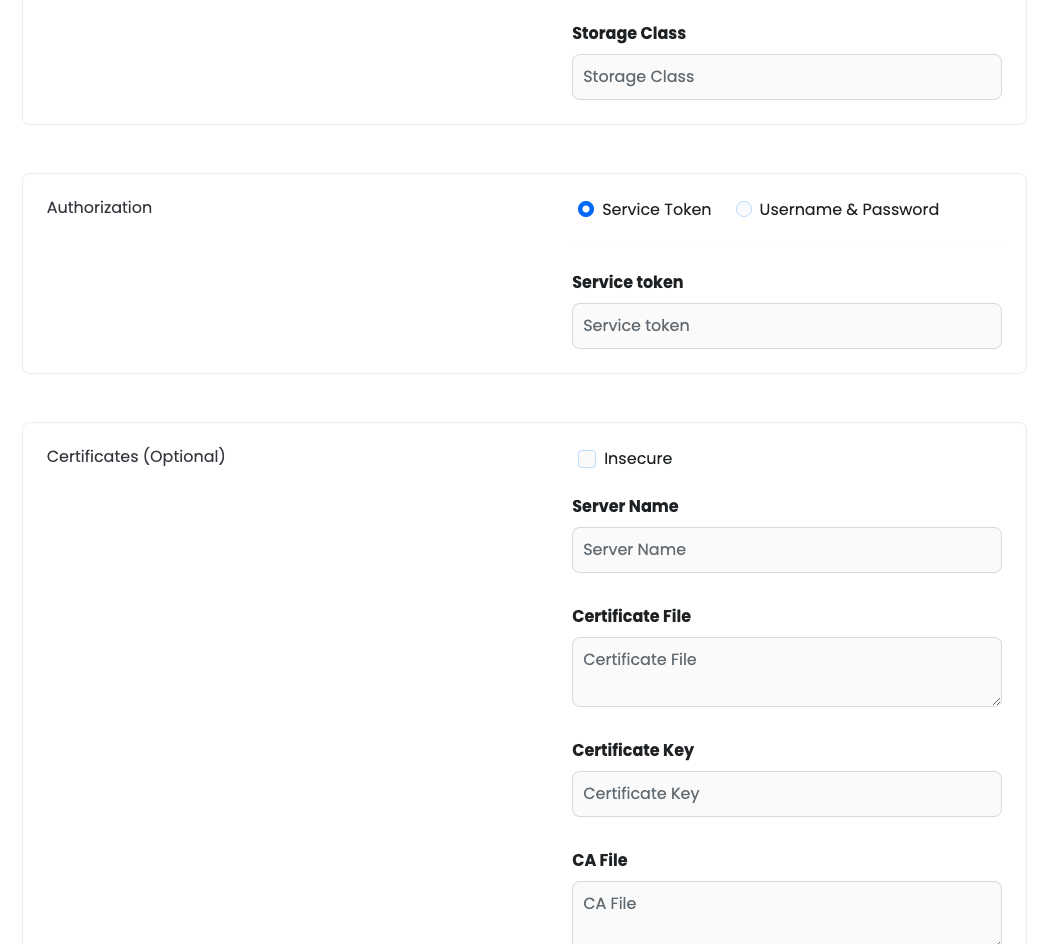
Storage class:
Run the command
kubectl get storageclass
Service token:
Regarding the service token, this requires the creation of of the following kubernetes resources.
- Service account:
This can be created by applying:
kubectl apply -f serviceaccount.yaml
where serviceaccount.yaml is a yaml file similar to the below:
apiVersion: v1
kind: ServiceAccount
metadata:
 name: dp-cluster-service-account
 namespace: aichor
- Clusterrole:
The clusterrole must be applied by running:
kubectl apply -f clusterrole.yaml
And then the yaml file will be applied (“kubectl apply -f clusterrole.yaml”)
apiVersion: rbac.authorization.k8s.io/v1
kind: ClusterRole
metadata:
 name: dp-sa-cluster-role
rules:
- apiGroups:
  - ""
  resources:
  - pods
  - pods/status
  - pods/exec
  - serviceaccounts
  - configmaps
  - namespaces
  - secrets
  verbs:
  - get
  - list
  - watch
  - create
  - update
  - patch
  - delete
  - apiGroups:
  - networking.k8s.io
  resources:
  - ingresses
  verbs:
  - create
  - get
  - delete
  - apiGroups:
  - cert-manager.io
  resources:
  - certificates
  verbs:
  - create
  - apiGroups:
  - kubeflow.org
  resources:
  - tfjobs
  - xgboostjobs
  - mxjobs
  - pytorchjobs
  verbs:
  - list
  - create
  - get
  - delete
  - apiGroups:
  - apps
  resources:
  - deployments
  verbs:
  - create
  - get
  - delete
  - list
  - apiGroups:
  - ""
  resources:
  - events
  verbs:
  - create
  - apiGroups:
  - ""
  resources:
  - services
  verbs:
  - create
  - get
  - delete
  - apiGroups:
  - ray.instadeep.io
  resources:
  - rayclusters
  verbs:
  - list
  - create
  - get
  - delete
  - apiGroups:
  - jax.instadeep.io
  resources:
  - jaxjobs
  verbs:
  - list
  - create
  - get
  - delete
  - apiGroups:
  - argoproj.io
  resources:
  - workflows
  verbs:
  - get
  - patch
- Clusterrolebinding
This resource will link the service account to the clusterrole above. Similar to the previous resources, clusterrolebinding is created by applying
kubectl apply -f clusterrolebinding.yaml
where clusterrolebinding.yaml is a yaml file similar to the below:
      apiVersion: rbac.authorization.k8s.io/v1
      kind: ClusterRoleBinding
      metadata:
       name: dp-sa-cluster-role-binding
      roleRef:
       apiGroup: rbac.authorization.k8s.io
       kind: ClusterRole
       name: dp-sa-cluster-role
      subjects:
      - kind: ServiceAccount
       name: dp-cluster-service-account
       namespace: aichor
- Secret
This resource needs to be created to generate the token afterwards.
      apiVersion: v1
      kind: Secret
      metadata:
       annotations:
         kubernetes.io/service-account.name: dp-cluster-service-account
       name: dp-cluster-service-account-token
       namespace: aichor
      type: kubernetes.io/service-account-token
Once the above resources created, the administrator will be able to retrieve the token from dp-cluster-service-account-token secret by running the following command:
kubectl get secret dp-cluster-service-account-token -o=jsonpath='{.data.token}' | base64 -d
Optionally, the CA file can be provided for secure connections.
CA File
This can be found by running this command on the data plane cluster:
kubectl config view --minify --raw --output 'jsonpath={..cluster.certificate-authority-data}' | base64 -d